Step 1 - Init
Step 1: Init
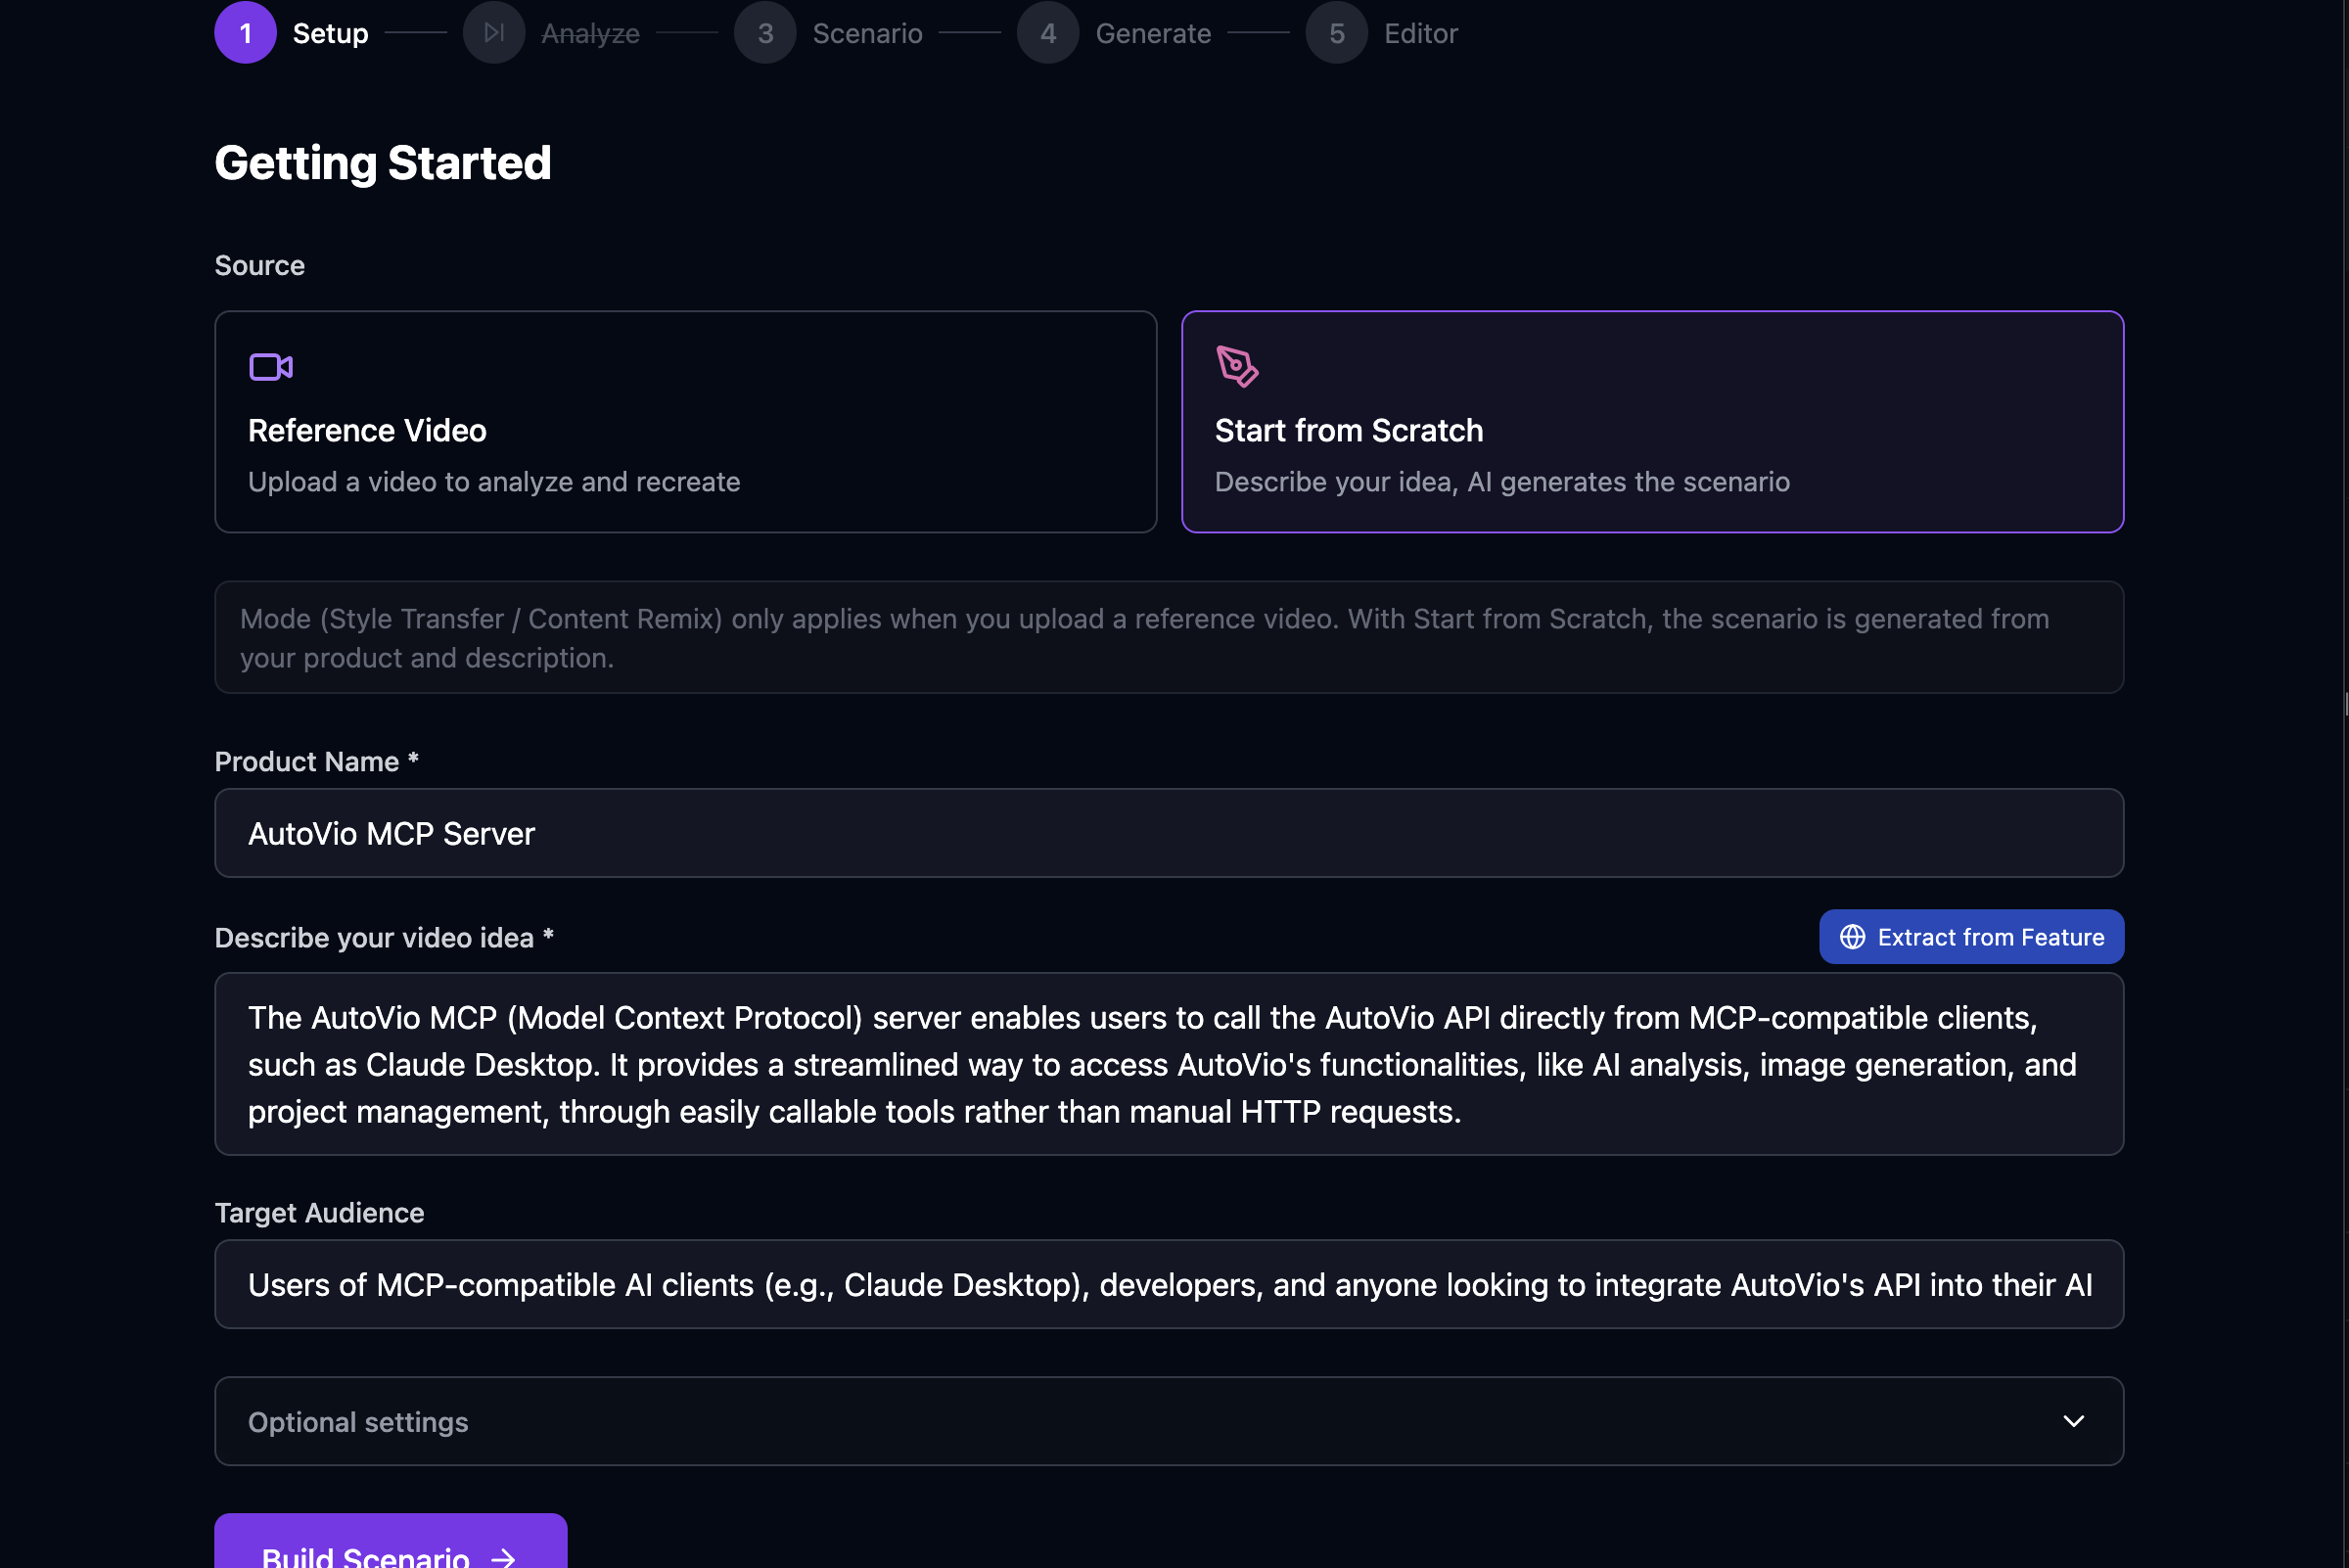
Section titled “Step 1: Init”The Init step is where you configure the work and, for style transfer, upload the reference video.
Fields
Section titled “Fields”| Field | Description |
|---|---|
| Mode | style_transfer — replicate reference video style; content_remix — generate from text only. |
| Product name | Subject of the video (e.g. product or topic name). |
| Product description | Optional short description. |
| Target audience | Who the video is for. |
| Language | Output language (e.g. en, tr). |
| Video duration | Desired total duration in seconds. |
| Scene count | Number of scenes to generate. |
| Reference video | (Style transfer only) Upload the video to analyze. |
Reference video
Section titled “Reference video”- For style_transfer, upload a reference video in this step. It is stored under the work and used in Step 2: Analyze.
- For content_remix, you can leave this empty; the Analyze step will be skipped unless you add a reference later.
What gets saved
Section titled “What gets saved”- All form fields are saved on the work (mode, productName, productDescription, etc.).
- The reference video file is stored via
POST /api/projects/:id/works/:id/media/reference.
Next step
Section titled “Next step”Go to Step 2: Analyze to run vision AI on the reference video (or skip to Step 3: Scenario if you have no reference).
See Pipeline Overview and Step 2: Analyze.