Step 1 - Init
Step 1: Init
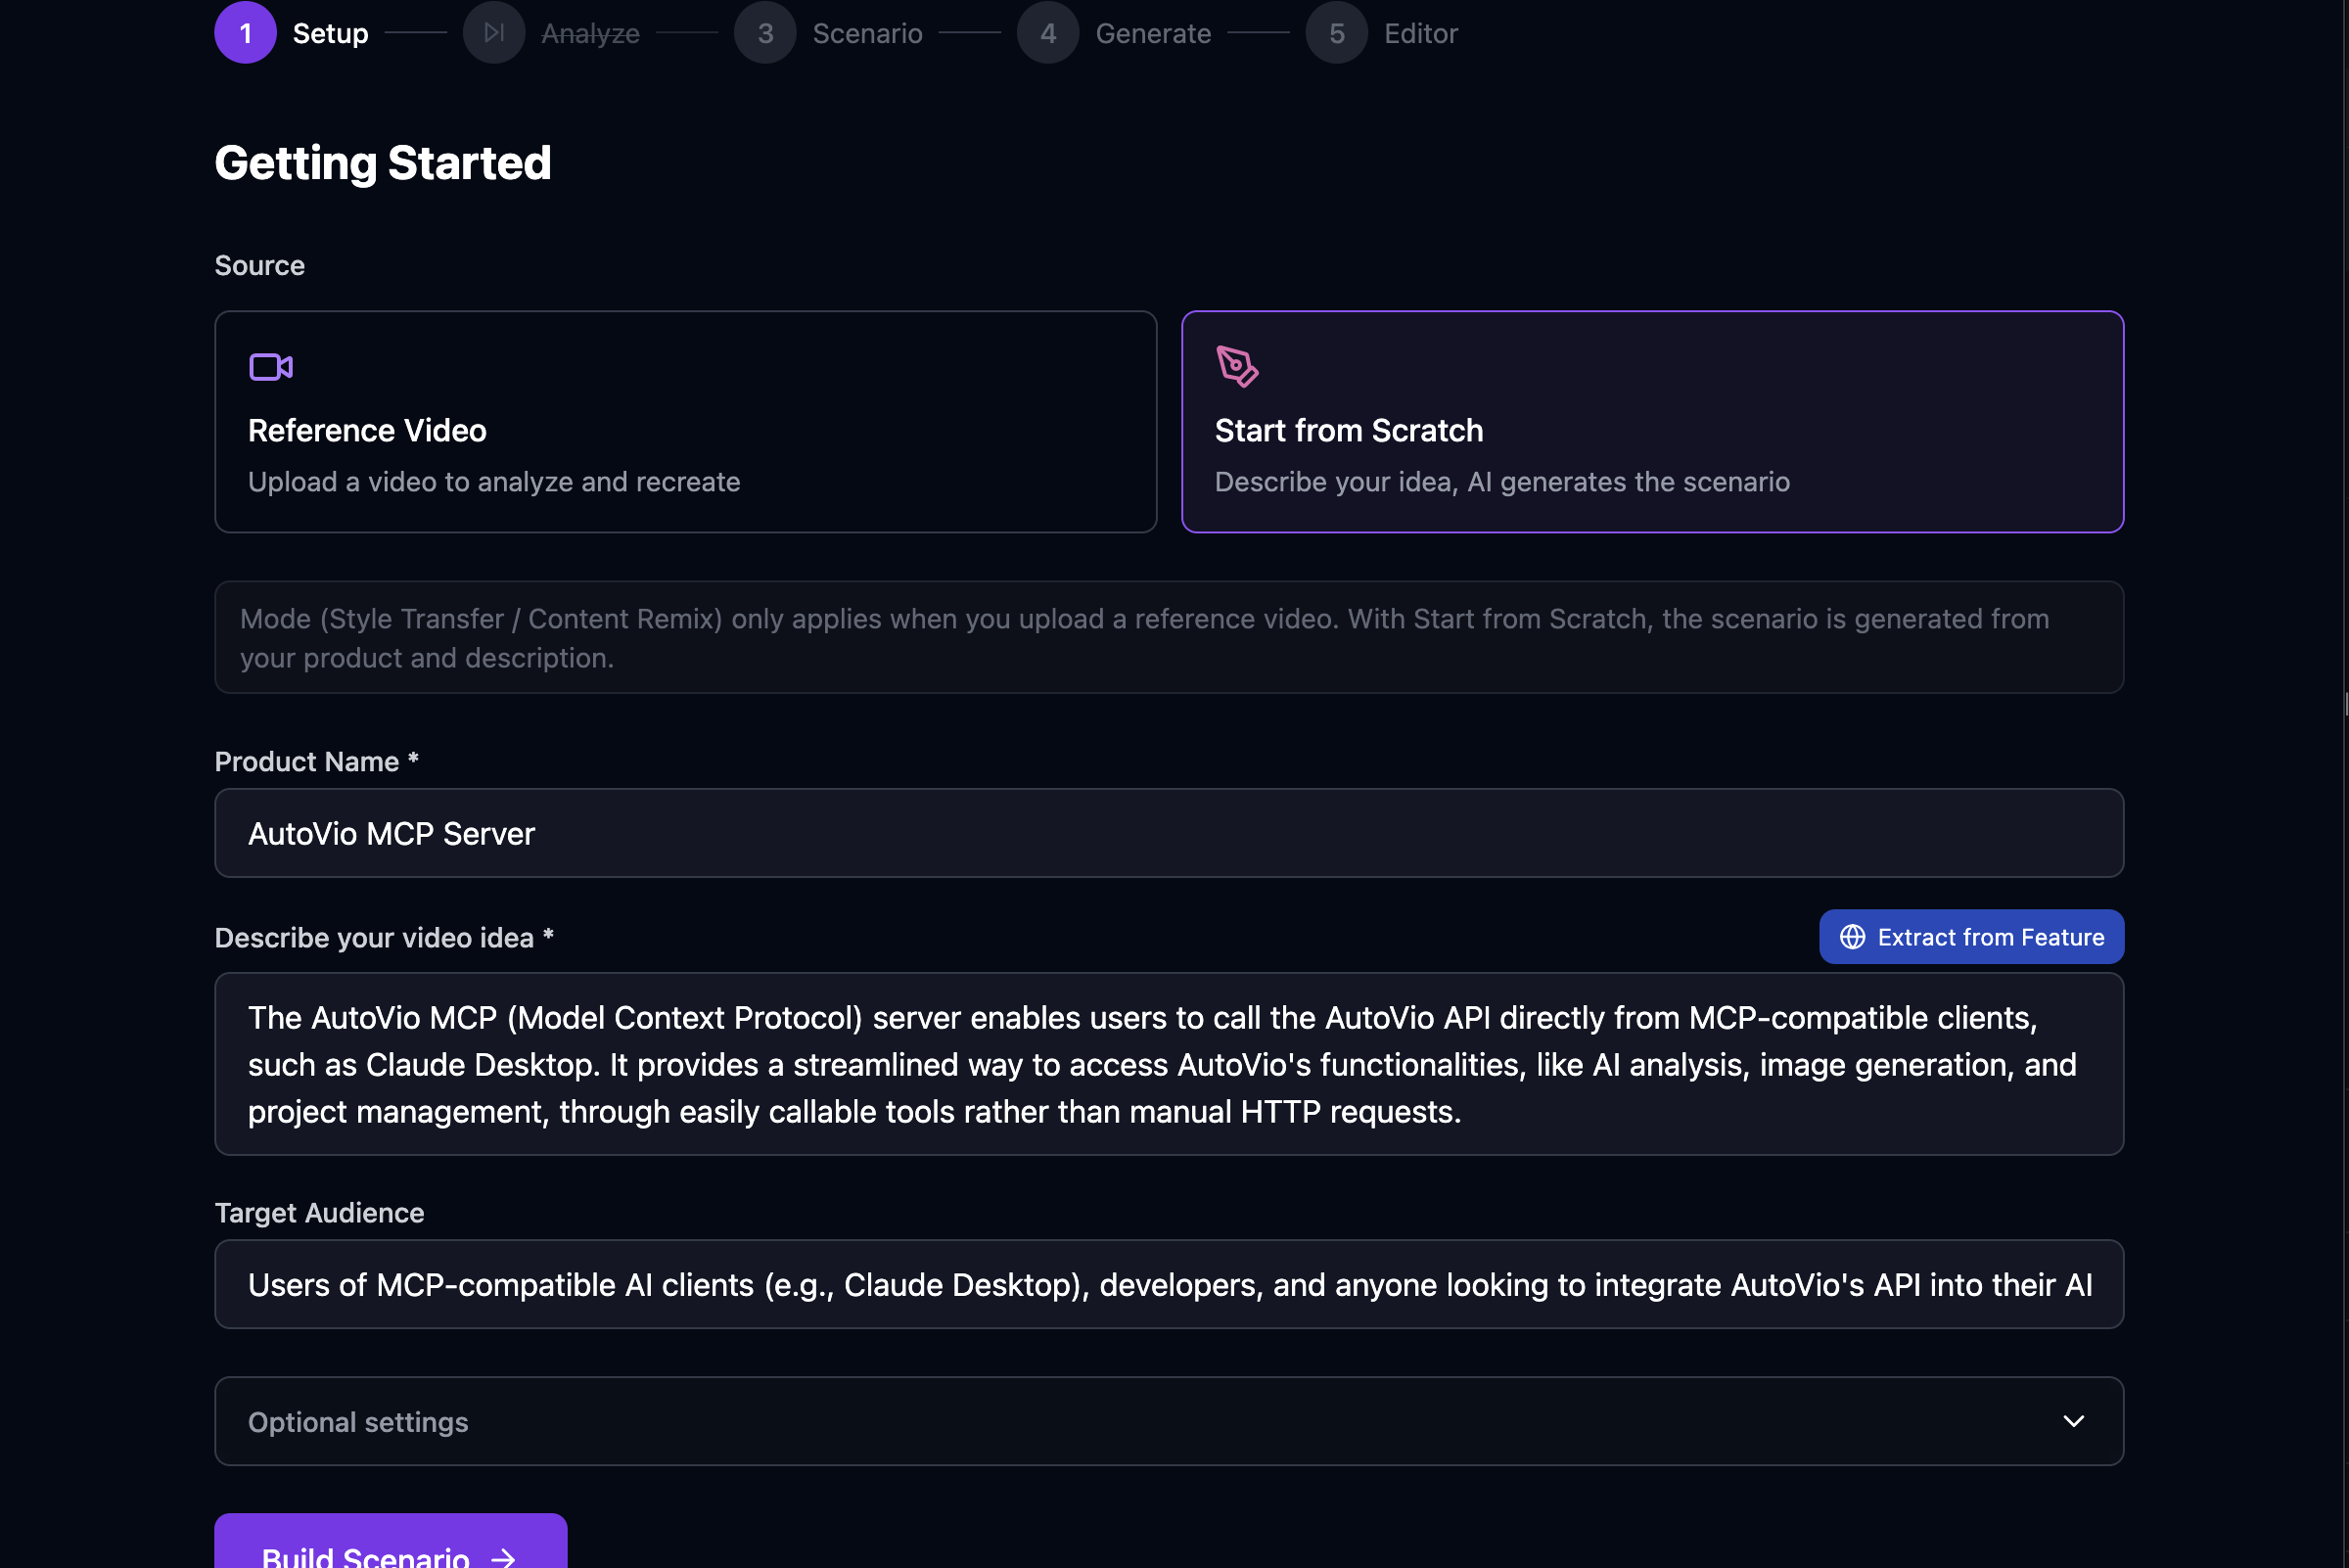
Section titled “Step 1: Init”The Init step is where you configure the work and, for style transfer, upload the reference video.
Fields
Section titled “Fields”| Field | Description |
|---|---|
| Source | Reference Video — upload a video to analyze; Start from Scratch — generate from text only. |
| Mode | style_transfer — replicate reference video style; content_remix — reinterpret content. Only shown when a reference video is selected. |
| Product name | Subject of the video (e.g. product or topic name). |
| Product description | Optional short description or video idea. |
| Target audience | Who the video is for. |
| Resolution | Output resolution for image/video generation. See presets below. |
| Language | (Optional) Output language (e.g. en, tr). |
| Video duration | (Optional) Desired total duration in seconds. |
| Scene count | (Optional) Number of scenes to generate. |
| Reference video | (Source: Reference Video only) Upload the video to analyze. |
| Project assets | (Optional) Select assets to use in video generation. |
| Asset usage mode | How to use selected assets: reference or direct. |
Resolution
Section titled “Resolution”The resolution selector offers three presets that control the output dimensions for all image and video generation in this work:
| Preset | Width × Height | Icon | Description |
|---|---|---|---|
| Portrait 9:16 | 1080 × 1920 | 📱 | Default. Vertical format for mobile / social. |
| Landscape 16:9 | 1920 × 1080 | 🖥️ | Horizontal widescreen format. |
| Square 1:1 | 1080 × 1080 | ⬛ | Square format. |
Choosing a resolution affects:
- DALL-E 3 — selects the matching
sizeparameter (1024x1792,1792x1024, or1024x1024). - Runway — adds a
ratiofield ("768:1280"or"1280:768"). Square is omitted (Runway does not support 1:1). - Gemini Veo — adds an
aspectRatiofield ("9:16","16:9", or"1:1"). - Gemini Image — no effect (provider has no resolution parameter).
- Editor export settings —
exportSettings.widthandexportSettings.heightare initialized from the chosen resolution when opening the editor for the first time.
Reference video
Section titled “Reference video”- For style_transfer, upload a reference video in this step. It is stored under the work and used in Step 2: Analyze.
- For content_remix, you can leave this empty; the Analyze step will be skipped unless you add a reference later.
Project assets
Section titled “Project assets”You can select images from your project assets to use in video generation. When assets are selected, choose an asset usage mode:
| Mode | Description |
|---|---|
| Reference | AI analyzes your assets and generates similar-looking images. Best for style consistency. Assets should have descriptions (analyze them first in Project Settings). |
| Direct | Skip AI image generation entirely. Use your actual asset images and only generate video (animation). Best for product photos, screenshots. Scene count auto-adjusts to match asset count. |
This is useful for:
- Product demo videos using actual product photos (direct mode)
- Brand-consistent content using logo/style reference (reference mode)
- Screenshot-based tutorials (direct mode)
What gets saved
Section titled “What gets saved”- All form fields are saved on the work (mode, productName, productDescription, selectedAssetIds, assetUsageMode, resolution, etc.).
- The reference video file is stored via
POST /api/projects/:id/works/:id/media/reference.
Next step
Section titled “Next step”Go to Step 2: Analyze to run vision AI on the reference video (or skip to Step 3: Scenario if you have no reference).
See Pipeline Overview and Step 2: Analyze.