Step 3 - Scenario
Step 3: Scenario
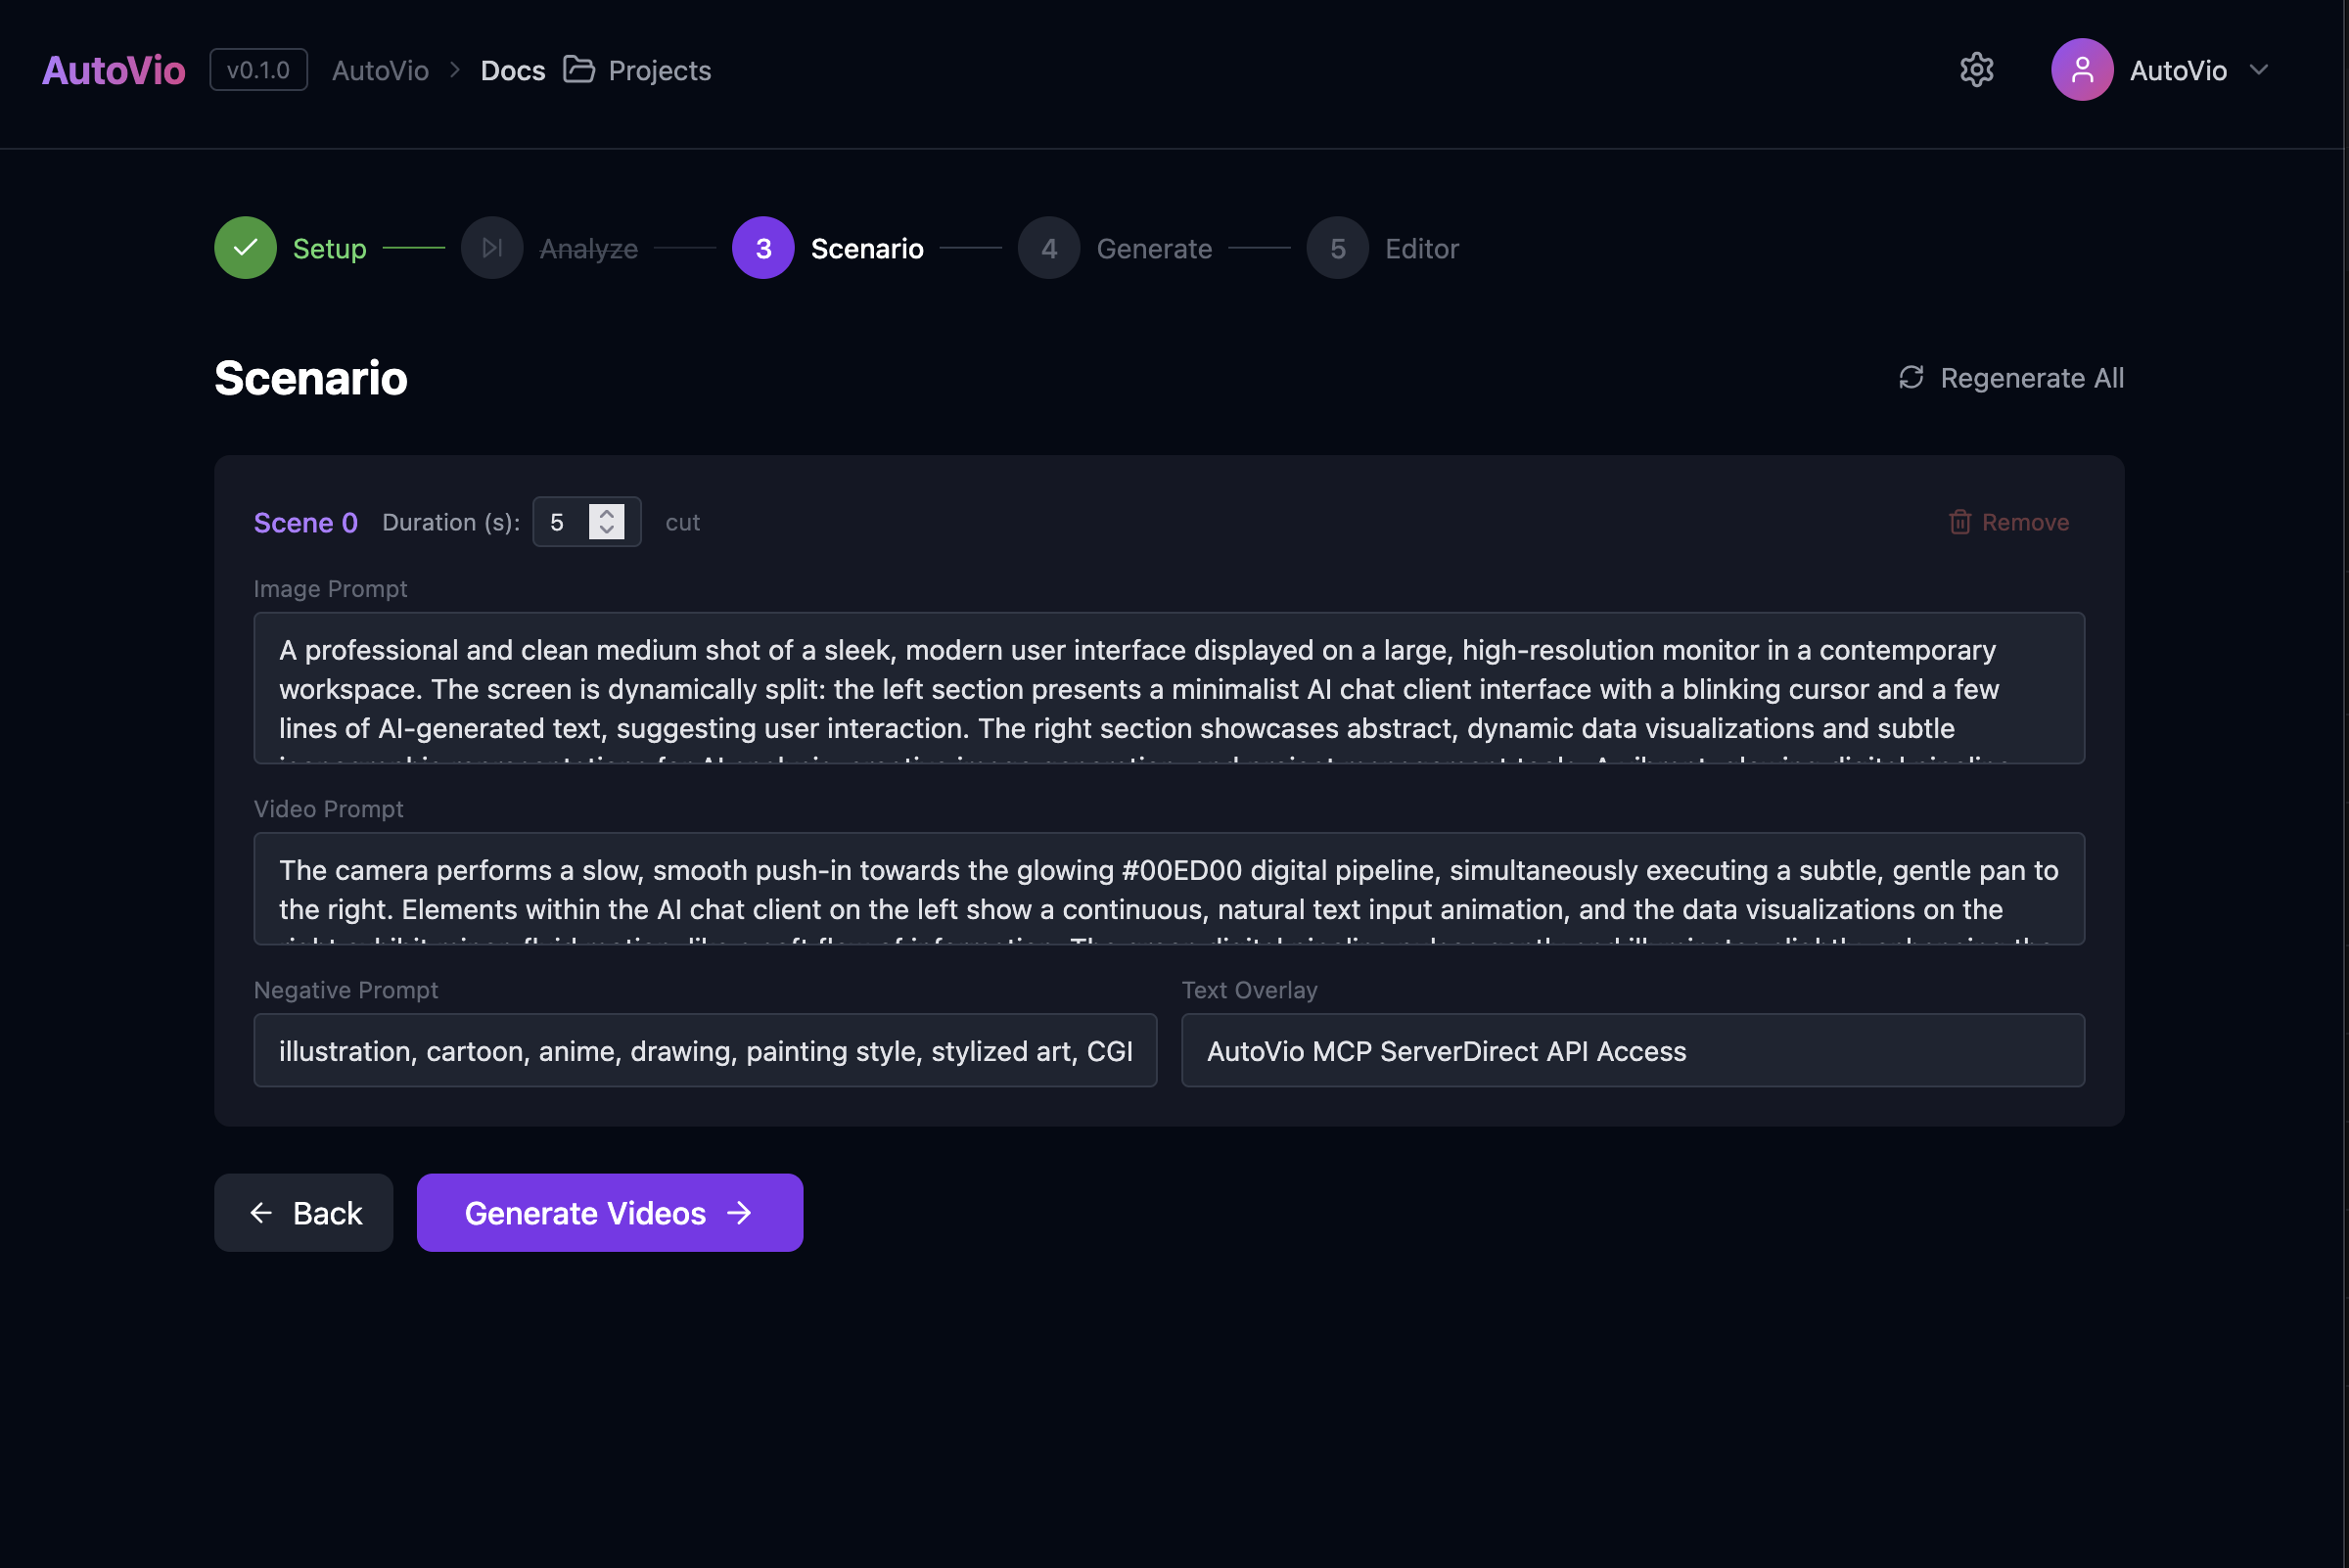
Section titled “Step 3: Scenario”The Scenario step generates a scene-by-scene script for the video using the LLM.
What you do
Section titled “What you do”- Click Generate scenario (or equivalent). The app sends analysis (if any), intent (mode, product, duration, scene count), optional system prompt, knowledge, and project style guide to
POST /api/scenario. - The LLM returns an array of ScenarioScene objects: for each scene,
image_prompt,negative_prompt,video_prompt,duration_seconds,text_overlay,transition. - You can edit any scene’s text in the UI before moving to generation.
Inputs
Section titled “Inputs”| Input | Description |
|---|---|
| Analysis | From Step 2 (reference video analysis). Optional. |
| Intent | mode, product_name, product_description, target_audience, language, video_duration, scene_count. |
| System prompt | Override for the scenario LLM (default from project). |
| Knowledge | Extra context (from project or work). |
| Style guide | Project style guide; when present, appended as “Project Style Guide” in the system prompt. |
Output
Section titled “Output”Each scene has:
scene_index,duration_secondsimage_prompt— used for image generationnegative_prompt— what to exclude from the imagevideo_prompt— motion/camera for image-to-videotext_overlay— optional on-screen texttransition— e.g. cut, fade, dissolve
Default behavior
Section titled “Default behavior”The default scenario system prompt (see Scenario Prompt) instructs the LLM to produce photorealistic content unless the style guide asks for something else. Image prompts are written like “photo of…”, “shot on…”; video prompts describe realistic motion.
Next step
Section titled “Next step”In Step 4: Generate you generate an image for each scene from image_prompt, then a video from that image using video_prompt.
See Step 4: Generate and System Prompts: Scenario.