Step 4 - Generate
Step 4: Generate
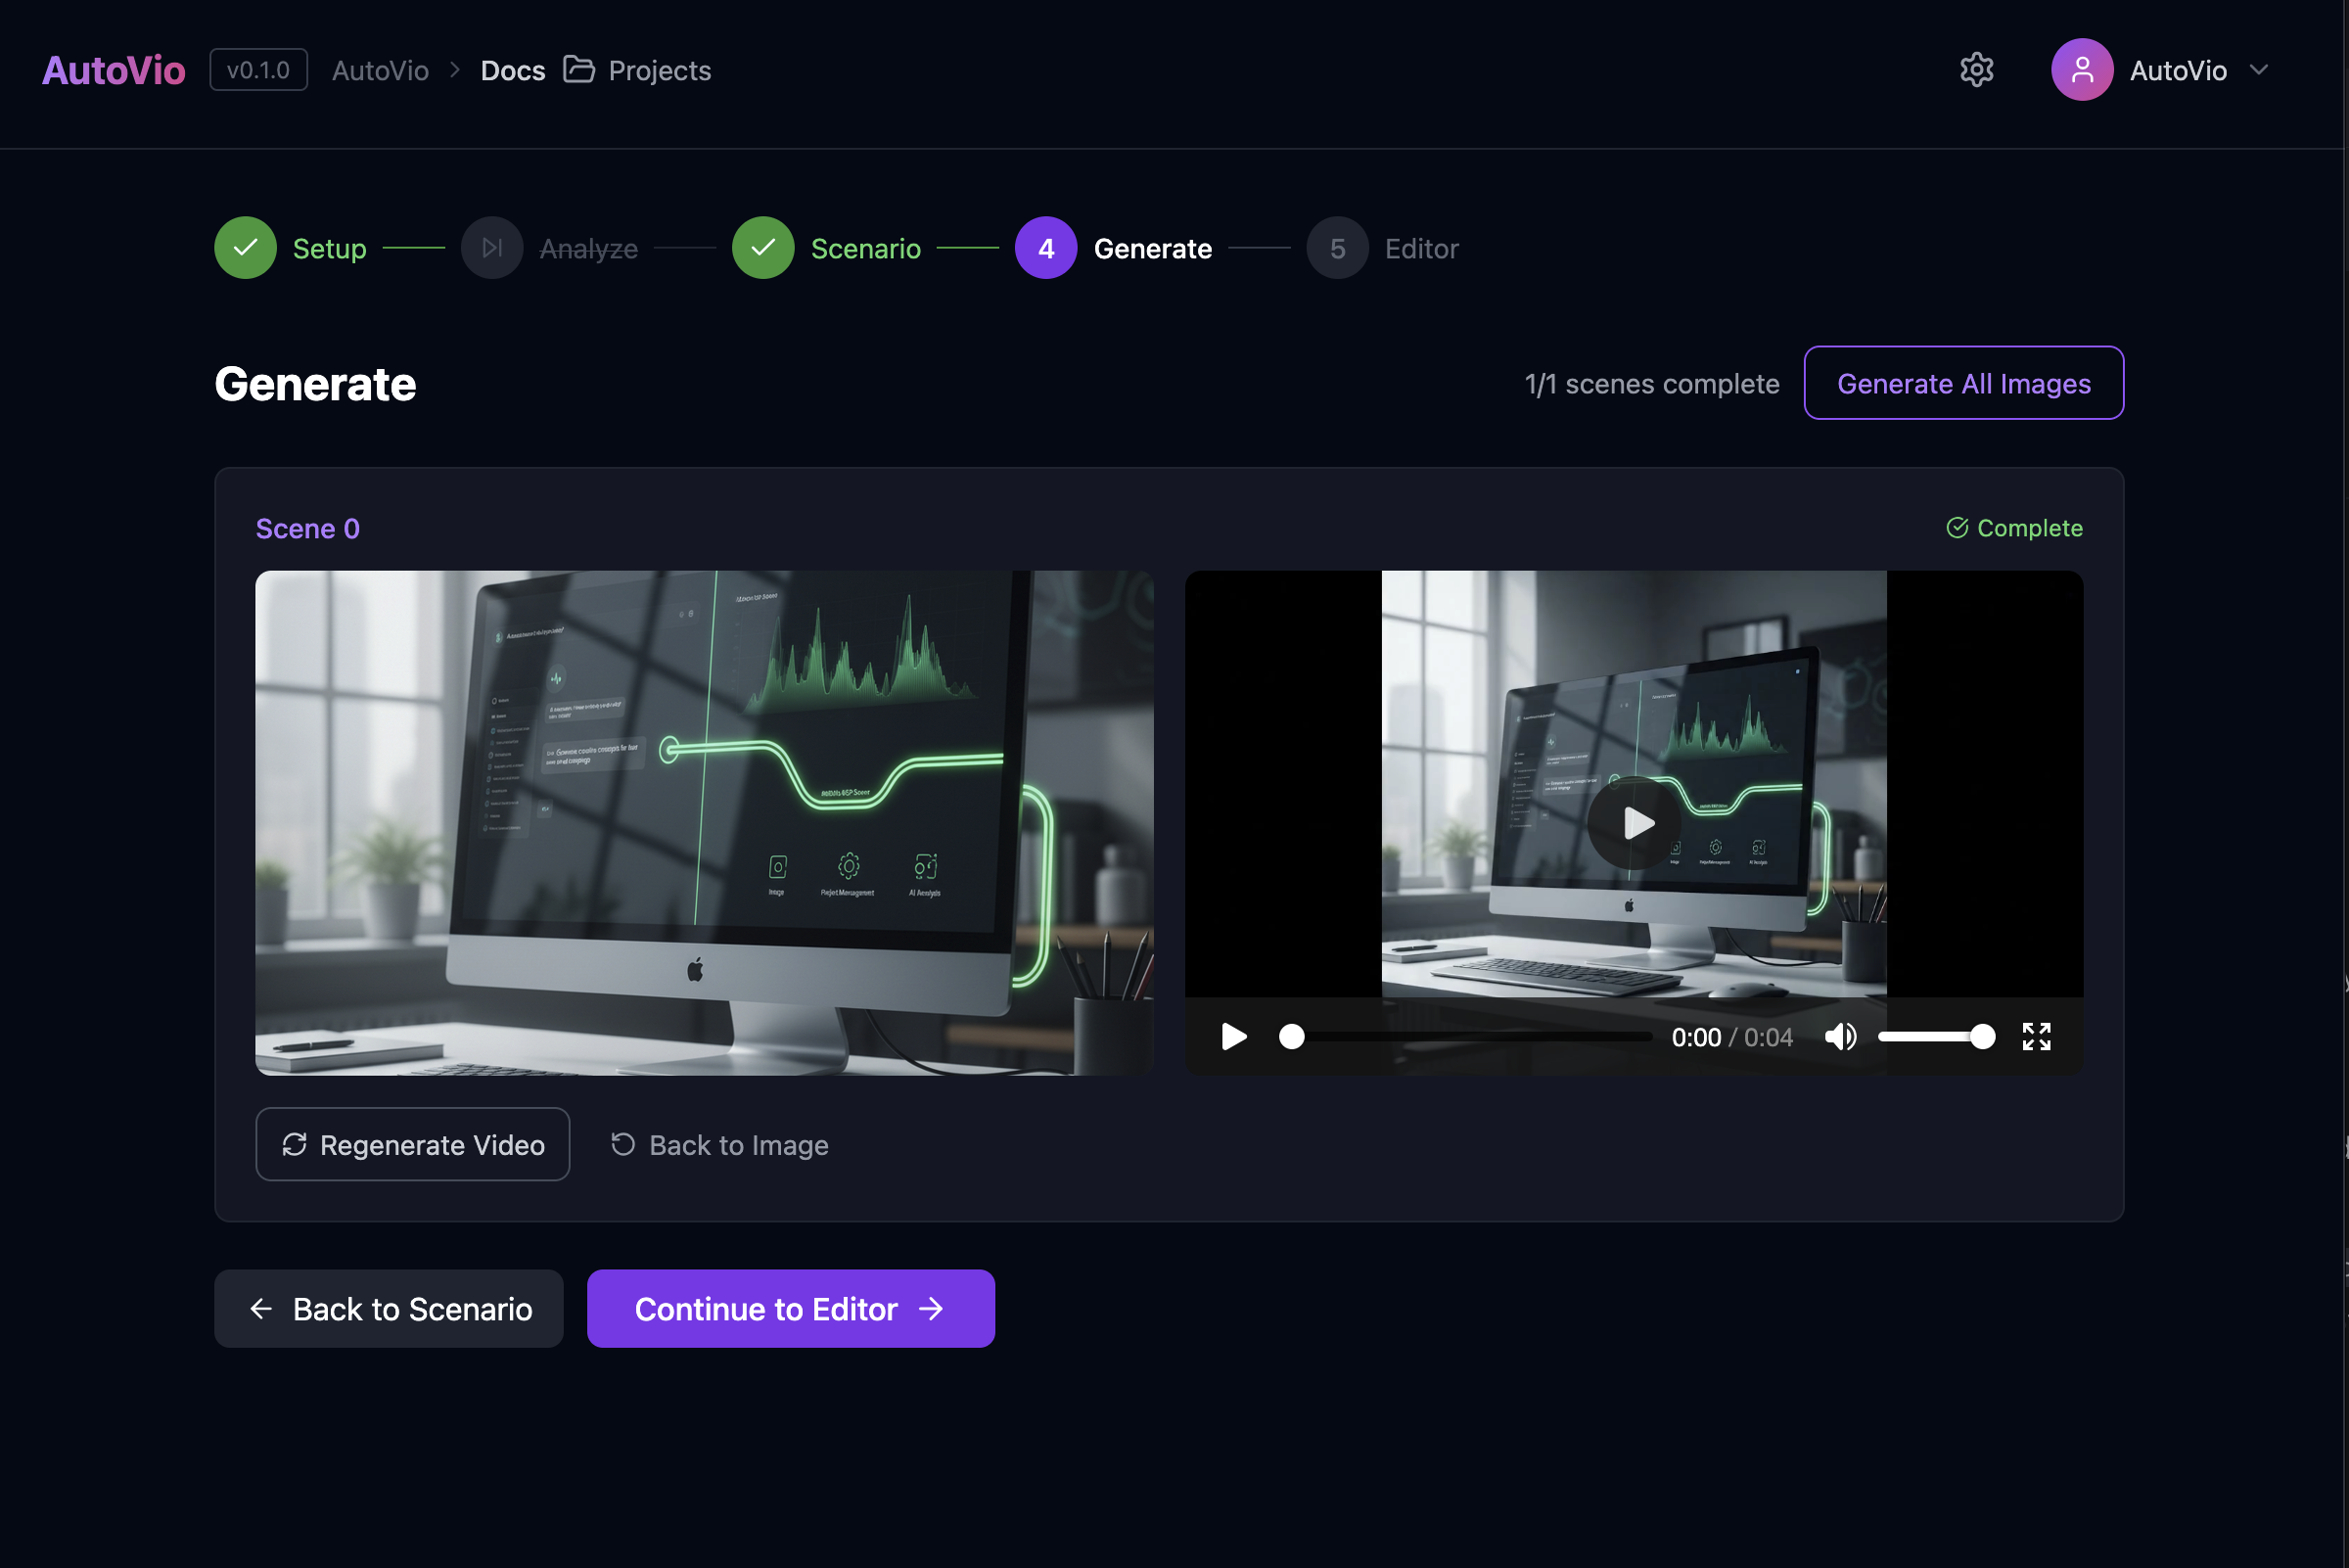
Section titled “Step 4: Generate”The Generate step produces an image and then a video for each scene.
Per-scene flow
Section titled “Per-scene flow”- Generate image — Backend uses the scene’s
image_prompt(plus style guide prefix and image instruction) and calls the image provider. Status:generating_image→image_ready. - Review — You see the image; you can approve or edit the prompt and regenerate.
- Generate video — After approval, backend uses the image and
video_prompt(plus style prefix and video instruction) and calls the video provider. Status:generating_video→done(orerror).
Status values
Section titled “Status values”pending— Not startedgenerating_image— Image in progressimage_ready— Image done, awaiting approval before videogenerating_video— Video in progressdone— Scene completeerror— Failed (with message)
Bulk actions
Section titled “Bulk actions”- Generate All Images — Runs image generation for all scenes that are still pending. Video is still triggered per scene after you approve each image.
Inline editing
Section titled “Inline editing”Side panels (e.g. Image Edit, Video Edit) let you change the prompt for a scene and regenerate without leaving the step.
Style and instructions
Section titled “Style and instructions”- The backend builds a style prefix from the project/work style guide (see Image Prompt, Video Prompt).
- Final image prompt:
[style prefix] + [image_instruction or default] + [scene image_prompt]. - Final video prompt: same idea for video. If
image_urlis an internal media URL, the backend resolves it with auth and passes a data URL to the video provider.
Storage
Section titled “Storage”Generated image and video files are stored under the work via:
POST /api/projects/:id/works/:id/media/scene/:index/imagePOST /api/projects/:id/works/:id/media/scene/:index/video
Media URLs in the UI that point to the API are loaded with auth (e.g. blob URLs) so previews work.
Next step
Section titled “Next step”Go to Step 5: Editor to arrange clips on the timeline, add overlays and audio, and export.
See Editor step and AI Endpoints.